I previously introduced “Kakiyama’s Chocolate Senbei (Japan’s Savory Umami Rice Snacks)” in a past article. It was so delicious that I hoped to find something similar at a nearby store… but after searching all the local supermarkets, I came up empty-handed.
“If there is no Chocolate Senbei left in the world, why not just make it myself?” 👸🍰
So, following my “DIY Norimaki Senbei,” it’s time for another DIY project! As a National Cooking License holder, this is where my skills truly shine! (Even if it’s just melting chocolate and dipping crackers in it! 😆)
To cut to the chase, this DIY was a huge success! Every single one of them was absolutely delicious!!
Ingredients
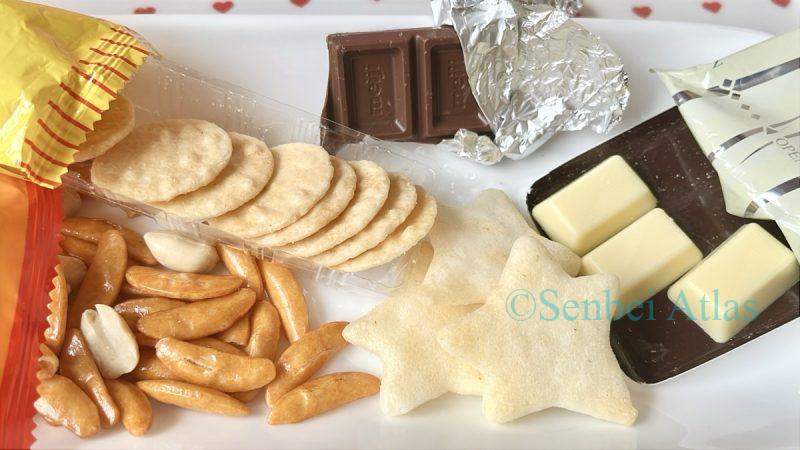
For this challenge, I’m using three types of senbei and two types of chocolate.
▼ Senbei
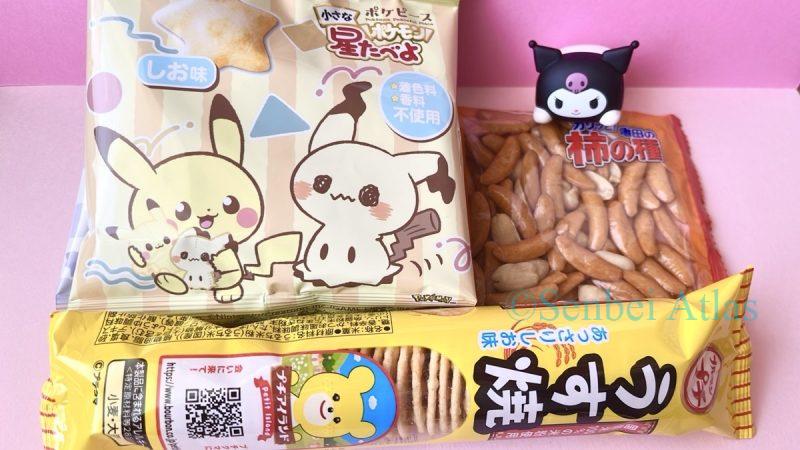
・Petit Usuyaki (プチうす焼): Thin and crispy salt-flavored crackers.
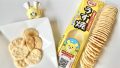
・Chiisana Hoshitabeyo (小さな星たべよ): Star-shaped, lightly crunchy, and lightly salted crackers
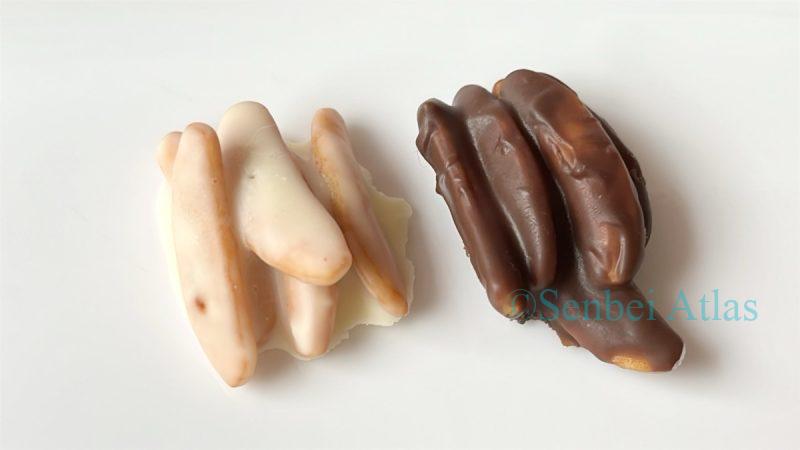
・Kaki no Tane (柿の種): Tiny, crunchy, and spicy crackers mixed with peanuts.
(I’ve already reviewed each of these in previous articles, so feel free to check out the links above! )
▼ Chocolates
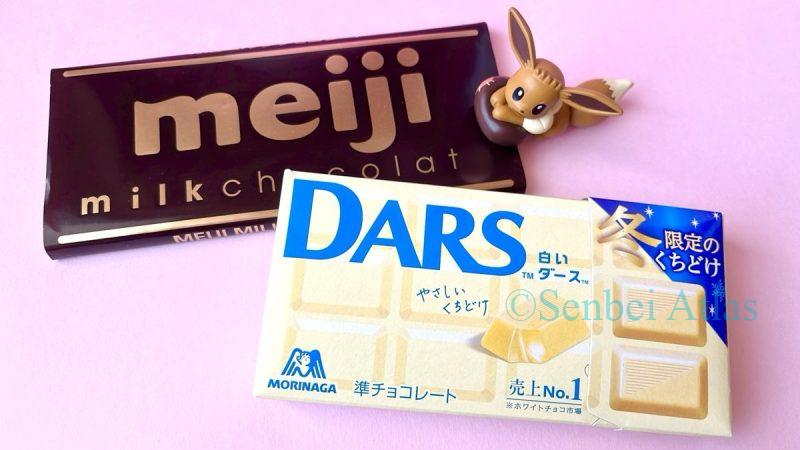
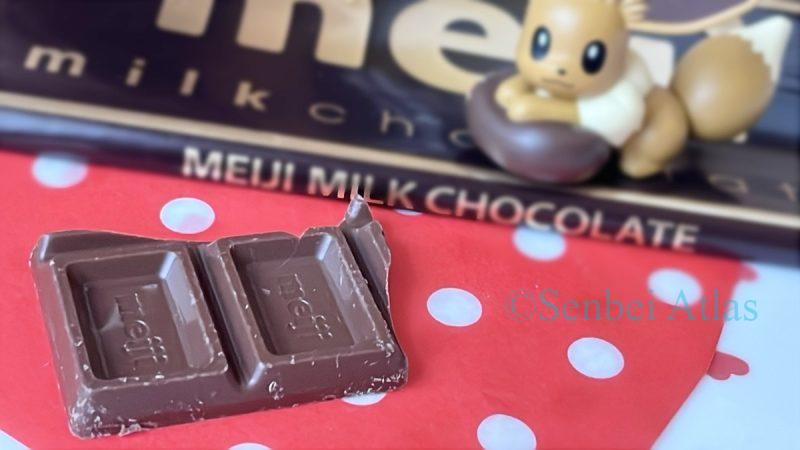
・Milk Chocolate: Standard milk chocolate.
・White Chocolate: Smooth white chocolate.
Let’s DIY!
Summary: Melt the chocolate and dip the senbei. That’s it!
Melting the Chocolate
Place the chocolate in a heat-resistant bowl.
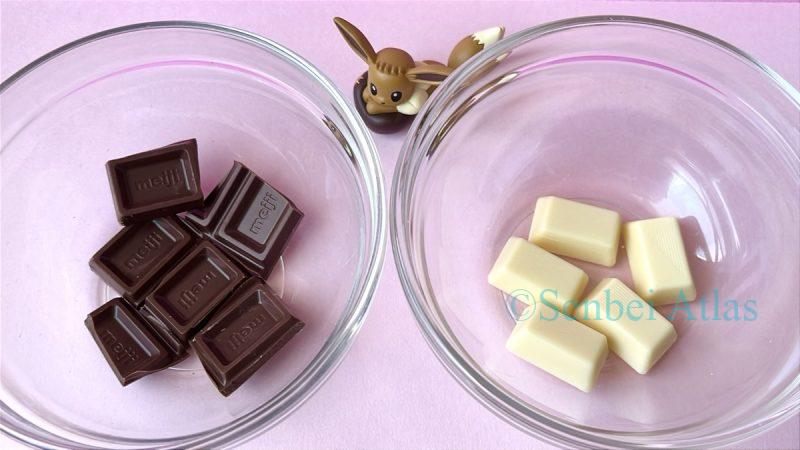
Melt it in the microwave.
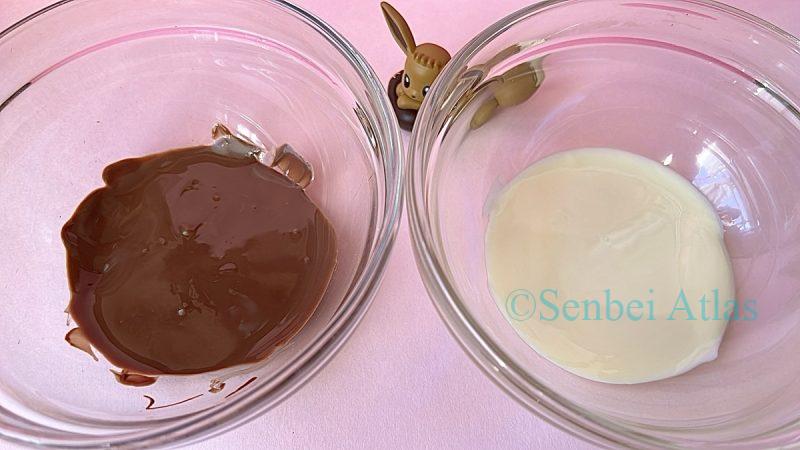
Note: Normally, the “right” way is to chop the chocolate finely, melt it over a water bath, and go through the tempering process… but this time, I prioritized speed and just used the microwave!🍫
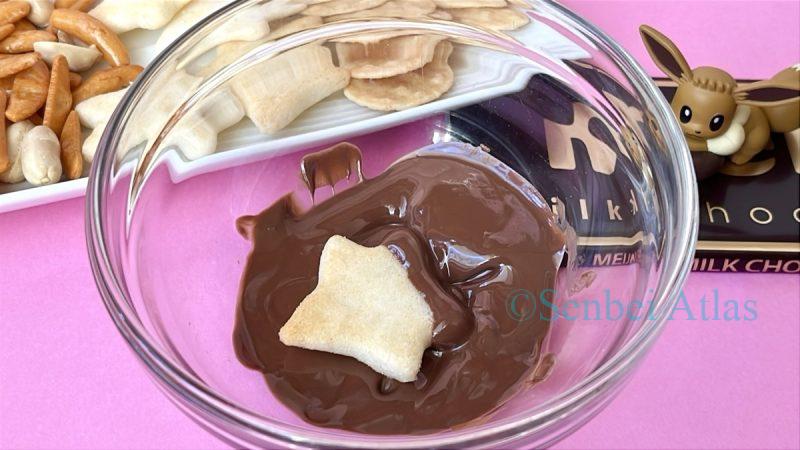
Dipping the Senbei
Simply dip the senbei into the melted chocolate, and refrigerate until the chocolate sets.
Let’s eat!
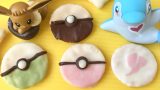
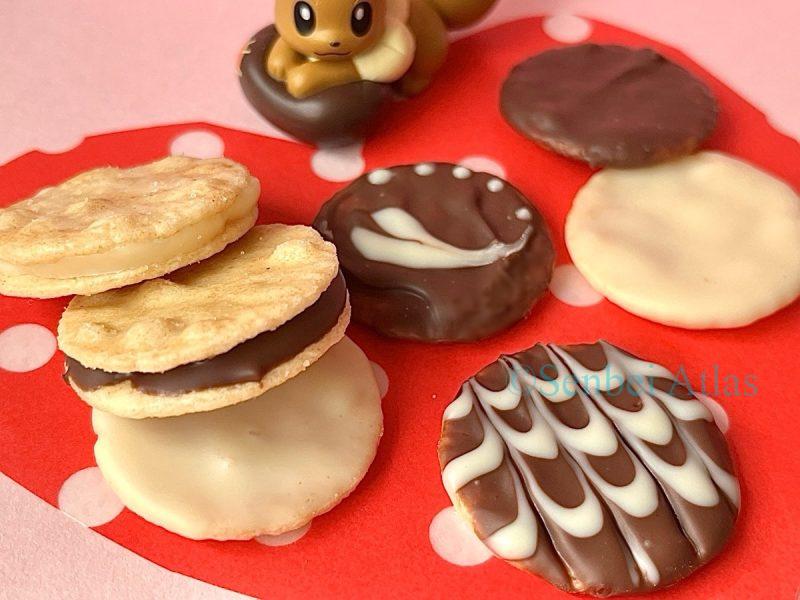
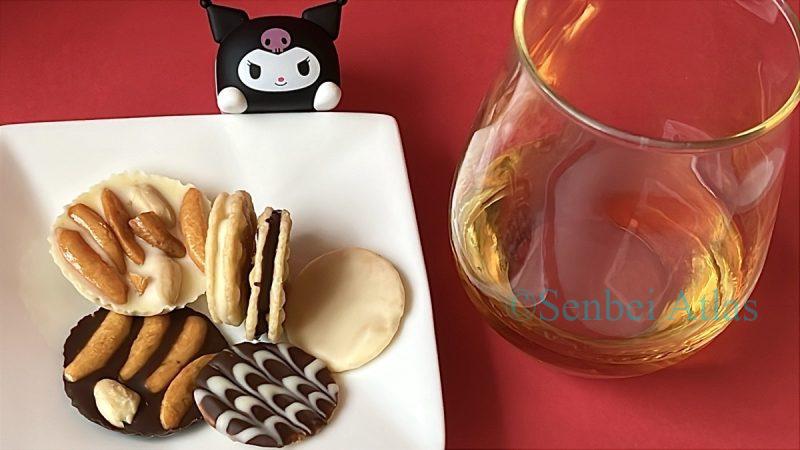
Here’s the final result!
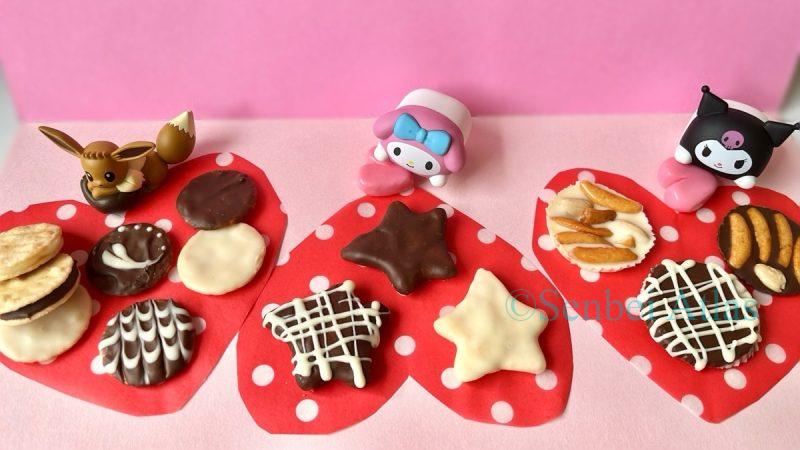
Everything turned out so delicious that I had to stop myself from devouring them all at once. I’ll hold back my cravings and give you a proper, step-by-step review of each one 😆
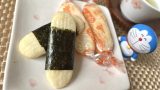
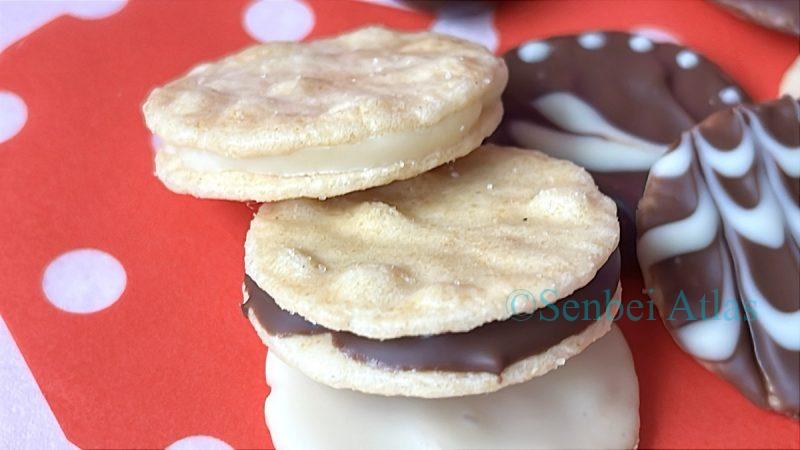
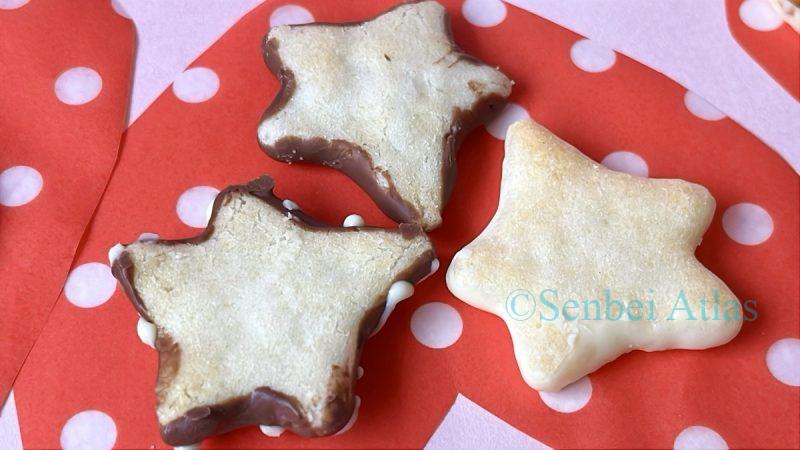
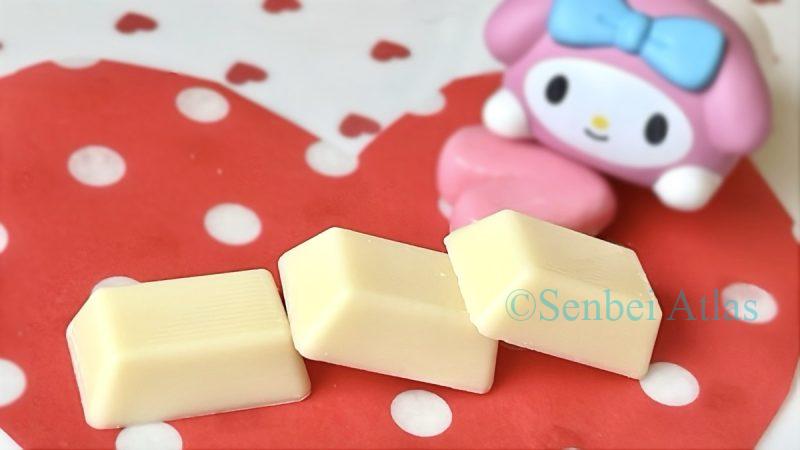
Petit Usuyaki × Chocolate
The combination of the thin, crispy cracker and the smooth chocolate is outstanding!
The cracker and the chocolate finish at the exact same time in the mouth, making for a perfectly seamless aftertaste.
The saltiness of the senbei enhances the sweetness of the chocolate, and the subtle spices in the cracker add a wonderful accent, creating a delightful “gradation” of flavors.
While the milk chocolate version lets the chocolate flavor take center stage, the white chocolate allows the chocolate and senbei to run side-by-side, making the cracker’s spices stand out even more 🍫
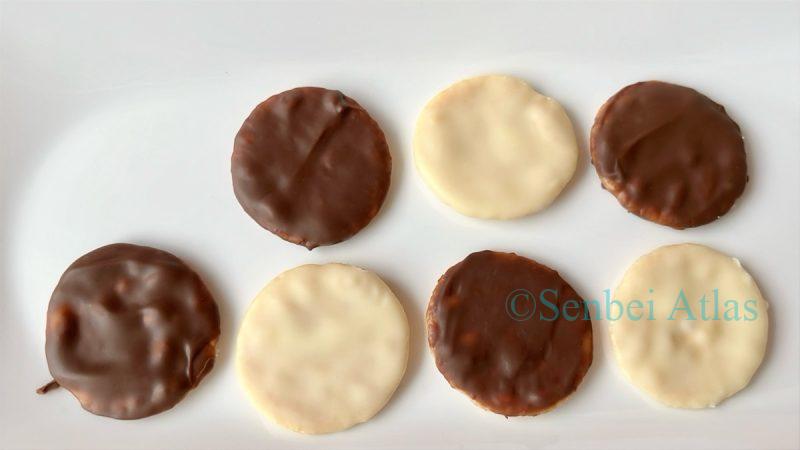
In terms of texture and flavor, the Milk Chocolate version is quite similar to Kakiyama’s “Petit Heart.”
However, thanks to the hidden spices in Petit Usuyaki, it actually has a sophisticated “chocolatier-style” vibe (since professional chocolatiers often use spices in their creations).
Honestly, it’s so good that it wouldn’t be surprising if this was already a commercial product! 💕
Chiisana Hoshitabeyo × Chocolate
The crispy, light texture of this soft senbei melts away gently with the chocolate—another perfect match!
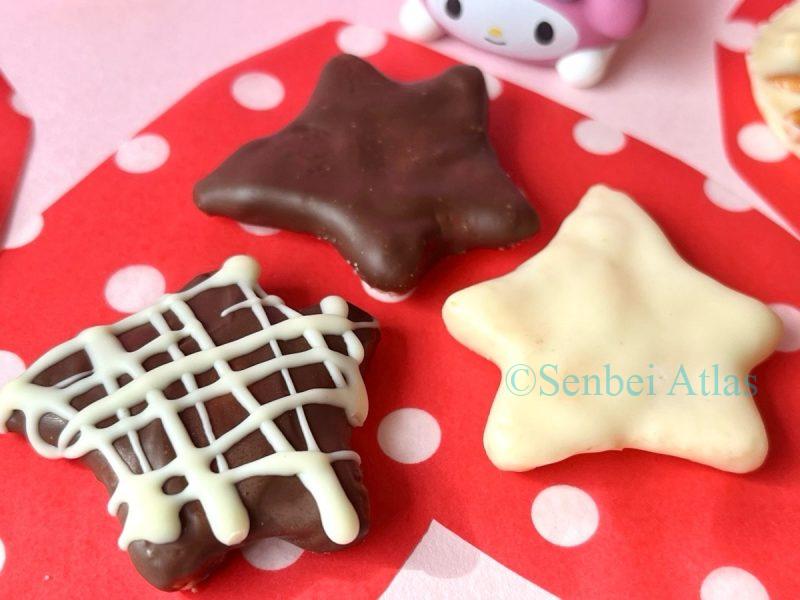
As I’ve reviewed before, these crackers are lightly salted and safe even for small children, making this a milder chocolate senbei compared to the Petit Usuyaki. Using white chocolate makes the flavor even more mellow and gentle.
Oh, I almost forgot to mention! For both the Petit Usuyaki and the Chiisana Hoshitabeyo, I intentionally only coated one side with chocolate.
If both sides are covered, the flavor of the senbei gets hidden behind the chocolate. That’s why I recommend coating only one side—it’s the best way to clearly enjoy the saltiness and spiciness of the cracker! 🍫
Kaki no Tane × Chocolate
Lastly, the Kaki no Tane.
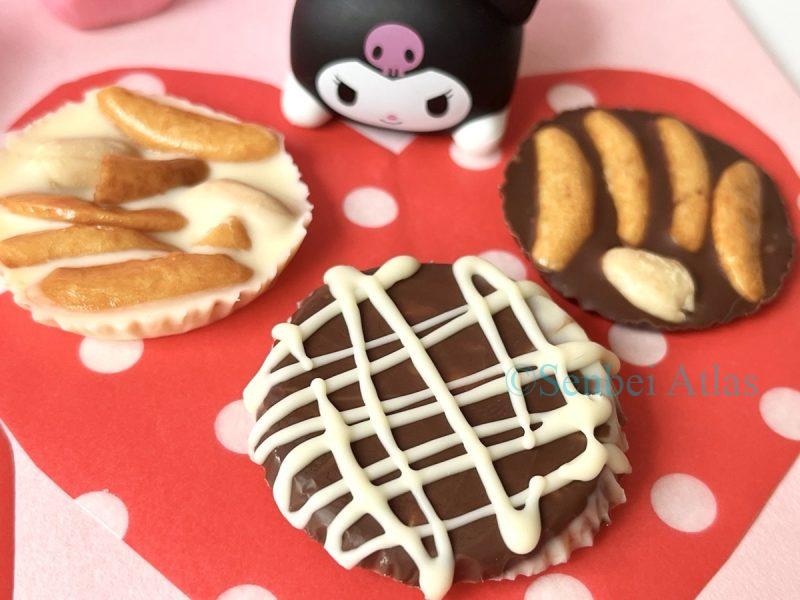
The crunchy texture of the Kaki no Tane provides a great accent to the mild chocolate. While the spiciness in the Petit Usuyaki was more of a “hidden flavor,” the spicy kick in Kaki no Tane really stands out.
Even with a bit more chocolate, the spiciness remains clear, creating a delicious contrast with the sweetness of the chocolate.
Some might think, “Kaki no Tane is a spicy snack for beer, right? And you’re putting chocolate on it?!”
But actually, chocolate-coated Kaki no Tane is already a proven product in Japan. It’s guaranteed to be delicious. However, since it’s not available everywhere, it’s definitely worth the DIY effort! ✨
Summary
All three types of DIY chocolate senbei I tried this time were delicious without exception!
I previously analyzed why matcha chocolate pairs so well with senbei, but it turns out that milk and white chocolate are also an outstanding match!
My personal favorites are the combinations of chocolate with crackers that have a spicy accent, like Petit Usuyaki and Kaki no Tane.
While these crackers are classic beer snacks on their own, adding chocolate makes them a perfect pairing for Western spirits like brandy or whiskey.
This DIY project was a huge success, and giving these as “handmade chocolates” to someone you’re comfortable with is definitely a great option!
However, let’s be honest—melting chocolate can be a bit of a hassle. If you’re just making them for yourself, “eating senbei while nibbling on a chocolate bar” is perfectly fine! 😄
Extra: Expert’s Tips for DIY Chocolate Senbei
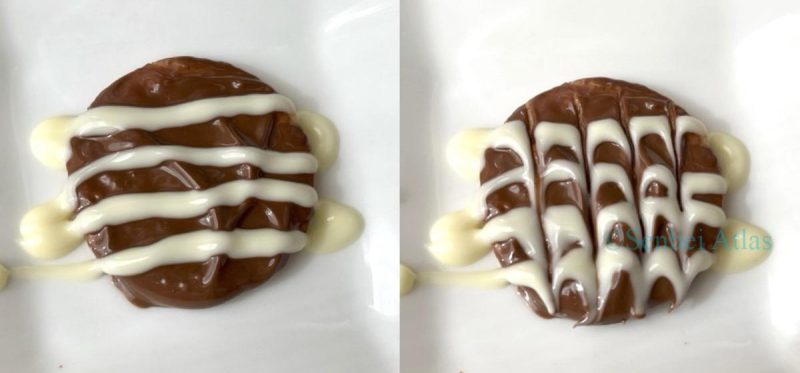
For those of you thinking, “Wait, you skipped way too many steps after dipping them! How did you make those patterns?!“—you’ve got a sharp eye!
I didn’t want to get too sidetracked from the main story, so I’ve saved the details of the process for the end. If you want to try it yourself, feel free to refer to the pointers below!
How to Create Patterns with Chocolate
・The “Overlapping C” pattern
After coating the senbei with milk chocolate, immediately draw thin lines with white chocolate before it sets. Then, simply slide a bamboo skewer from top to bottom, perpendicular to the lines, to create this look.
・The Heart pattern
After coating the senbei with milk chocolate, immediately place a single drop of white chocolate on it before it sets. Then, just slide a bamboo skewer through the center of that drop from top to bottom to create a heart shape.
Tips for Melting Chocolate in the Microwave
・Heat in short bursts and stir frequently
When using a microwave, chocolate can burn very quickly once it starts to melt.
The key is to heat it in short increments of a few dozen seconds (depending on the amount).
For the quantities I used this time, I started with 30 seconds at 600W, gave it a little stir, then continued with 20-second bursts, stirring between each one.
This way, you can melt it perfectly without burning it. Heating for several minutes at once just to save time will almost certainly lead to burning! 🔥
Trust me, I’ve been there. Even a tiny burnt spot ruins the whole batch with a burnt smell, which is really discouraging 😭
・Be careful with white chocolate—it melts faster and sets slower
White chocolate melts more easily and takes longer to harden than regular chocolate. This is because it has less cocoa mass and a higher content of fat (cocoa butter) and dairy.
Keep this in mind and use shorter heating times for white chocolate. Also, because it stays soft longer, don’t touch it just because the milk chocolate has set at room temperature. Make sure to chill the finished crackers thoroughly in the refrigerator!
▼ Recommended: Check out these DIY articles too!